Tender Chocolate Chip Scones
Highlighted under: Weekend Baking Recipes
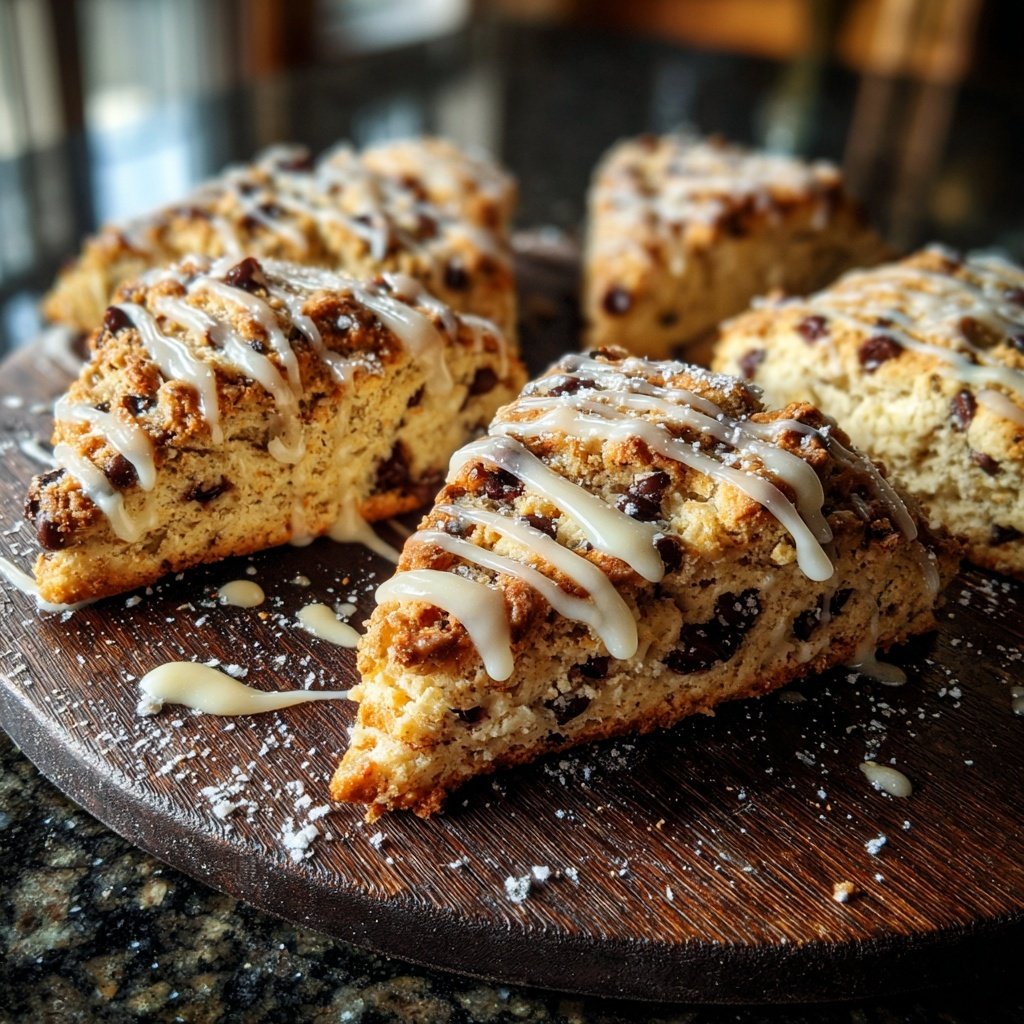
I absolutely love making these Tender Chocolate Chip Scones! Every time I whip up a batch, the buttery aroma fills my kitchen, inviting everyone to come in for a taste. The tender crumb paired with melty chocolate chips is truly irresistible. I've experimented with different additions like nuts and spices, but nothing beats the classic combo. Whether it's for breakfast, brunch, or an afternoon treat, these scones always bring a smile. I promise, once you try them, they will become a regular in your baking rotation.

When I first made these scones, I was shocked by how easy and rewarding the process was. The method I use combines cold butter to achieve that flaky texture we all love. I've found that grating the butter rather than cutting it in creates an even better crumb. The batch disappears quickly, so be ready to share!
One tip I've learned over time is to chill the scones before baking. This helps them rise beautifully and maintain their shape. Don't skip this step if you want perfectly tender scones with that signature golden top. Trust me; it's worth the wait!
Why You'll Love These Scones
- Delightful blend of sweet chocolate and buttery goodness
- Flaky and tender texture that melts in your mouth
- Perfect for brunch or a cozy tea time treat
Mastering the Dough
The key to achieving that flaky texture lies in how you handle the dough. When mixing the wet and dry ingredients, do not overmix—just stir until everything is barely combined. Overmixing can lead to dense scones rather than the light, airy texture you’re aiming for. Be gentle and use a spatula or wooden spoon to fold the mixture. You'll know it's ready when there are still a few dry spots; this ensures the scones remain tender after baking.
When shaping your dough, aiming for a uniform thickness of about 1 inch is crucial. This helps the scones rise evenly in the oven. If your dough feels too sticky, sprinkle a little more flour on your work surface and on the dough itself as you pat it out. Always keep the dough cold; the colder the butter remains, the better the flaky texture when baked.
Optimal Baking Techniques
For scones that perfectly rise and achieve that golden-brown hue, the preheating step is non-negotiable. Ensure your oven is at 400°F (200°C) before placing the scones inside. This high temperature is essential for achieving that coveted rise while still keeping the interior soft and tender. You should see the scones puff up and develop a light crust on the outside, which is a sign they are baking properly.
Chilling the scones for 10 minutes before baking is another tip I recommend for optimal results. This allows the butter to firm up again, leading to an even flakier texture. Keep an eye on them in the last few minutes of baking; they’re done when they showcase a beautiful golden edge and sound hollow when tapped on the bottom.
Ingredients
Gather your ingredients before you start, and don’t forget to measure them accurately for the best results!
Ingredients
- 2 cups all-purpose flour
- 1/4 cup granulated sugar
- 1 tablespoon baking powder
- 1/2 teaspoon salt
- 1/2 cup unsalted butter, cold and grated
- 1/2 cup chocolate chips
- 1/2 cup whole milk
- 1 large egg
- 1 teaspoon vanilla extract
Once you have all your ingredients ready, you can start crafting these delicious scones!
Instructions
Let's begin the exciting process of making these scones!
Preheat the Oven
Preheat your oven to 400°F (200°C) and line a baking sheet with parchment paper.
Mix Dry Ingredients
In a large bowl, whisk together the flour, sugar, baking powder, and salt until well combined.
Add Butter
Fold in the grated cold butter, mixing until the mixture resembles coarse crumbs.
Add Chocolate Chips
Stir in the chocolate chips until evenly distributed throughout the mixture.
Combine Wet Ingredients
In a separate bowl, whisk together the milk, egg, and vanilla extract.
Form the Dough
Pour the wet mixture into the dry ingredients and stir until just combined. Do not overmix.
Shape the Scones
Transfer the dough to a floured surface, pat it into a circle about 1-inch thick, and cut into wedges.
Chill and Bake
Place the scones on the prepared baking sheet, chill for 10 minutes, and then bake for 20 minutes until golden brown.
Once baked, let them cool for a few minutes before enjoying!
Pro Tips
- For extra flavor, consider adding a sprinkle of cinnamon or nutmeg to the dry ingredients, or serve the scones with a dollop of clotted cream.
Ingredient Substitutions
If you're looking for a dairy-free option, substituting whole milk with almond milk or oat milk works wonderfully in this recipe. Just keep in mind that some non-dairy milks may slightly alter the flavor profile. As for the butter, plant-based butter or coconut oil can be suitable alternatives to keep the scones vegan, but choose a solid form to maintain the desired texture.
For a twist, consider adding different types of chocolate chips like dark chocolate or even white chocolate for a new flavor experience. You could also include dried fruits like cranberries or apricots in place of chocolate chips to cater to different taste preferences.
Storing and Serving Suggestions
These scones are best enjoyed fresh out of the oven, but they can also be stored in an airtight container for up to 3 days at room temperature. If you want to keep them longer, consider freezing portions. You can freeze the unbaked scone dough shaped into wedges, placing them in the freezer on a baking sheet until solid, then transferring them to a freezer bag. They will keep well for up to 3 months and can be baked directly from frozen, adding a couple of extra minutes to the baking time.
Serving these chocolate chip scones alongside clotted cream or a light drizzle of icing can elevate your breakfast or brunch experience. For a cozy treat, pair them with a cup of your favorite tea or coffee; the rich chocolate and buttery notes will complement the flavors beautifully.
Questions About Recipes
→ Can I use other types of chocolate?
Absolutely! Feel free to use dark chocolate, milk chocolate, or even white chocolate chips.
→ How should I store the scones?
Store the cooled scones in an airtight container at room temperature for up to 3 days.
→ Can I freeze the scone dough?
Yes, you can freeze the formed scones before baking. Just freeze them on a baking sheet before transferring to a container, then bake from frozen, adding a few extra minutes to the baking time.
→ What can I serve these scones with?
These scones pair perfectly with clotted cream, butter, or a simple fruit jam!
Tender Chocolate Chip Scones
Created by: The Chefeliaskitchen Team
Recipe Type: Weekend Baking Recipes
Skill Level: Easy
Final Quantity: 8 scones
What You'll Need
Ingredients
- 2 cups all-purpose flour
- 1/4 cup granulated sugar
- 1 tablespoon baking powder
- 1/2 teaspoon salt
- 1/2 cup unsalted butter, cold and grated
- 1/2 cup chocolate chips
- 1/2 cup whole milk
- 1 large egg
- 1 teaspoon vanilla extract
How-To Steps
Preheat your oven to 400°F (200°C) and line a baking sheet with parchment paper.
In a large bowl, whisk together the flour, sugar, baking powder, and salt until well combined.
Fold in the grated cold butter, mixing until the mixture resembles coarse crumbs.
Stir in the chocolate chips until evenly distributed throughout the mixture.
In a separate bowl, whisk together the milk, egg, and vanilla extract.
Pour the wet mixture into the dry ingredients and stir until just combined. Do not overmix.
Transfer the dough to a floured surface, pat it into a circle about 1-inch thick, and cut into wedges.
Place the scones on the prepared baking sheet, chill for 10 minutes, and then bake for 20 minutes until golden brown.
Extra Tips
- For extra flavor, consider adding a sprinkle of cinnamon or nutmeg to the dry ingredients, or serve the scones with a dollop of clotted cream.
Nutritional Breakdown (Per Serving)
- Calories: 380 kcal
- Total Fat: 26g
- Saturated Fat: 15g
- Cholesterol: 195mg
- Sodium: 85mg
- Total Carbohydrates: 32g
- Dietary Fiber: 3g
- Sugars: 24g
- Protein: 6g